Noticing bubbles on wall when painting is one of those frustrating surprises that can throw off an otherwise smooth project. You've prepped your surface, chosen your colour, and started rolling - then the wall starts to look bumpy, blistered, or uneven before the paint has even dried.
It happens to DIYers and experienced painters alike. The good news? Bubbling is almost always preventable, and in most cases, completely fixable. This guide covers the most common causes, how to repair the damage, and what to do differently next time.
If painting is starting to feel more complicated than expected, Student Works Painting's residential painting services are available across Western Canada - with trained operators who know how to get the job done right.
Before you can fix the problem, it helps to understand what's behind it. Bubbles on wall when painting typically come down to a few common culprits.
Moisture or Humidity
Painting in high humidity - or on a surface that isn't fully dry - is one of the leading causes of bubbling. When moisture gets trapped beneath the paint film, it pushes up and creates blisters. This is especially common with exterior painting after rain or during humid stretches of weather.
Painting Over a Dirty or Oily Surface
Paint doesn't bond well to dust, grease, or residue. If the surface wasn't properly cleaned before painting, the paint can lift as it dries - particularly in kitchens and bathrooms.
Applying Paint Too Thickly
Laying on too much paint at once can cause the outer layer to skin over while moisture is still trapped below. That trapped moisture has nowhere to go but up.
Using the Wrong Primer - or Skipping It Entirely
Primer creates the foundation for your topcoat. Skipping it, or using the wrong type for your surface, can lead to poor adhesion - and poor adhesion is one of the most reliable ways to end up with bubbles.
Direct Sunlight or Extreme Heat
Painting in direct sun causes the surface layer to dry too quickly. The outer skin forms before the paint underneath can cure properly, trapping air or solvent vapour beneath the surface.
According to Benjamin Moore's painting tips resource, temperature and humidity play a significant role in how paint adheres - and applying paint outside the recommended conditions is one of the most common causes of finish failures.
Prevention is always easier than repair. Here are some straightforward steps to avoid bubbles on wall when painting:
Clean the Surface Thoroughly
Wipe down walls with a damp cloth and mild detergent before you paint. Pay close attention to kitchens, bathrooms, or any area exposed to grease or condensation.
Let Everything Dry Completely
Whether you've washed the walls, patched holes, or dealt with a recent leak - make sure the surface is bone dry before picking up a brush or roller. Rushing this step is one of the most common mistakes.
Use the Right Primer
A good primer improves adhesion and creates a uniform base for your topcoat. On bare drywall, raw wood, or repaired surfaces, primer isn't optional - it's essential.
Check the Conditions Before You Start
For exterior work, aim for mild, dry conditions. Avoid painting in direct sunlight, after rain, or when temperatures are below 10 degrees Celsius. Most paint manufacturers include a recommended application range on the label - it's worth a quick read before you open the tin.
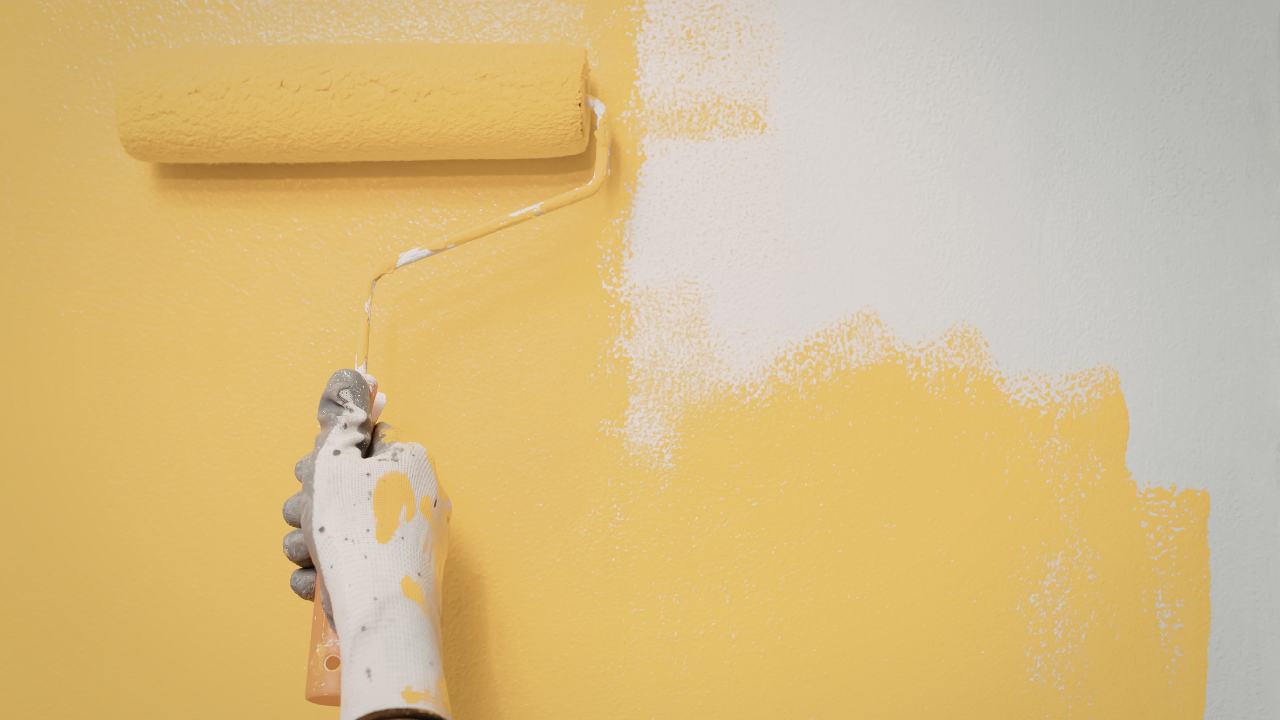
Apply Thin, Even Coats
Two thin coats will always outperform one thick one. Give each coat adequate drying time before applying the next, and resist the urge to overload your roller.
Not sure where to start with your painting project? Request a free estimate and let a Student Works operator assess the scope and recommend the right approach for your home.
If you've already got bubbles on wall when painting - don't panic. Here's how to address them properly.
Step 1: Let the Paint Cure First
Wait until the paint is fully dry and cured before attempting any repairs. Trying to fix wet or tacky bubbles will almost always make things worse.
Step 2: Scrape or Sand the Affected Area
Use a scraper or fine-grit sandpaper to remove the bubbled paint. Sand down to a smooth, flat surface and feather the edges so the repair blends in cleanly with the surrounding wall.
Step 3: Find and Fix the Root Cause
This is the most important step. If moisture caused the bubbling, identify and address the source before repainting. Painting over a problem without fixing it will just lead to the same bubbles reappearing.
Step 4: Prime and Repaint
Once the surface is clean, dry, and smooth, apply a coat of primer and then repaint in thin, even coats. Allow proper drying time between each layer.
Sometimes bubbles on wall when painting point to a deeper problem - moisture intrusion, damaged drywall, or a surface that needs more preparation than a standard DIY repair can handle.
If you're seeing widespread bubbling, recurring blistering in the same spots, or any signs of water damage behind the paint, it's worth having a professional take a look. Identifying and addressing the underlying issue early can save significant time and cost down the road.
Student Works Painting has been serving homeowners across British Columbia, Alberta, Saskatchewan, and Manitoba since 1991. Our full range of painting services covers interior and exterior work for residential and commercial properties - backed by a 3-year guarantee on all paint and labour.
.jpg)
Bubbles on wall when painting are almost always a sign that something got in the way of proper adhesion - whether that's moisture, heat, a dirty surface, or paint applied too fast or too thick.
The fix usually isn't complicated, but it does require finding the cause and addressing it before you repaint. Taking the time to prep properly, prime where needed, and work in the right conditions will give you a finish that actually lasts.
If you'd rather leave it to the professionals, the team at Student Works is happy to help. Get in touch through our contact page to talk through your project and get a no-pressure estimate.
What causes bubbles on wall when painting?
The most common causes are moisture, painting over a dirty or oily surface, applying paint too thickly, skipping primer, or painting in extreme heat or direct sunlight. Each of these can prevent the paint from bonding properly to the surface.
Can I just paint over the bubbles?
Painting over bubbles without addressing the root cause will usually result in the same problem appearing again. Sand down the affected area, find and fix the underlying cause, then prime and repaint for a lasting result.
How do I know if moisture is causing the bubbling?
If bubbles keep appearing in areas prone to dampness - like bathrooms, basements, or exterior walls - moisture is likely the cause. Look for water stains, soft drywall, or bubbles that return to the same spots as signs of an ongoing moisture issue.
Does using primer prevent bubbles on wall when painting?
Primer significantly improves paint adhesion, which reduces the risk of bubbling. On bare or repaired surfaces, it's especially important. Using the right primer for your specific surface type makes a real difference in the final result.
Should I hire a professional painter if I keep getting bubbles?
If the bubbling is widespread or keeps coming back in the same areas, it may be a sign of a deeper issue worth having assessed. A qualified painter can determine whether the problem is surface preparation, moisture, or something else - and fix it properly the first time.